INSTRUCTION GUIDES
On this page you'll find links to all the instructions guides for your new TOOLTROOPERS products.

Instructions guide
JUMPFORCE PRO
Everything you need to know about your new JUMPFORCE PRO jump starter.
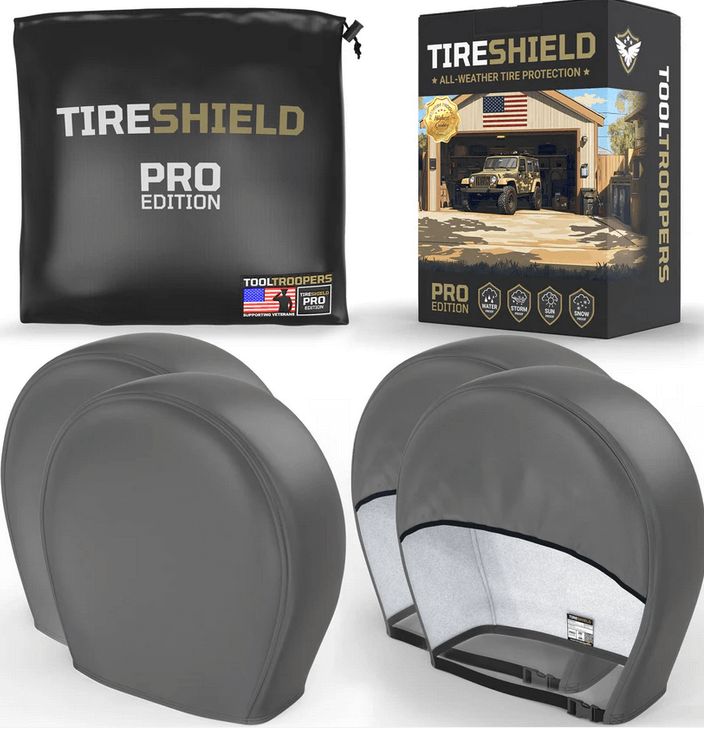
Instructions guide
TIRESHIELD PRO
Everything you need to know about your new TIRESHIELD PRO tire covers.

Instructions guide
TITANPATCH PRO
Everything you need to know about your new TITANPATCH PRO Waterproof sealant tape.
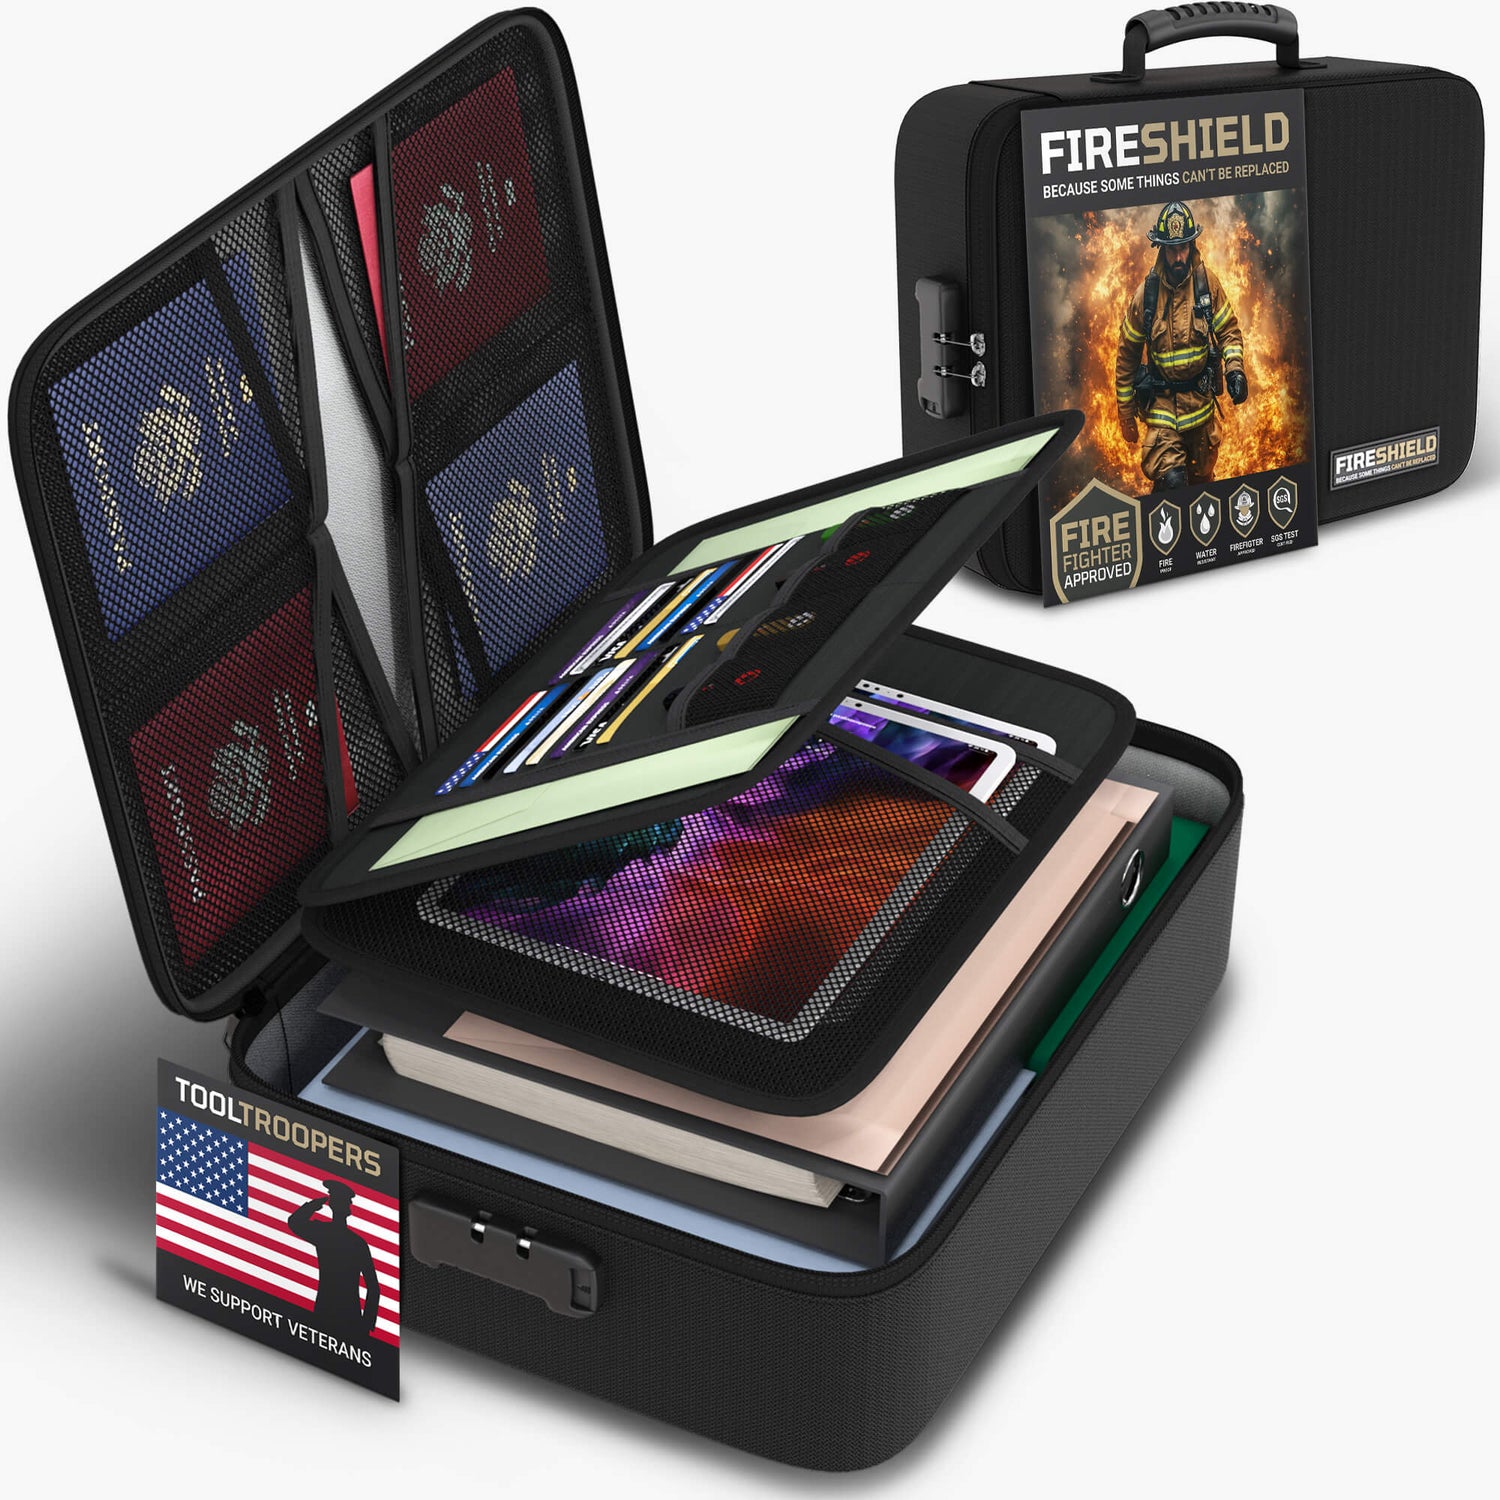
Instructions guide
FIRESHIELD PRO - Travel
Everything you need to know about your new FIRESHIELD PRO fireproof travel bag.

Instructions guide
FIRESHIELD PRO - XL Document Bag
Everything you need to know about your new FIRESHIELD PRO document bag.
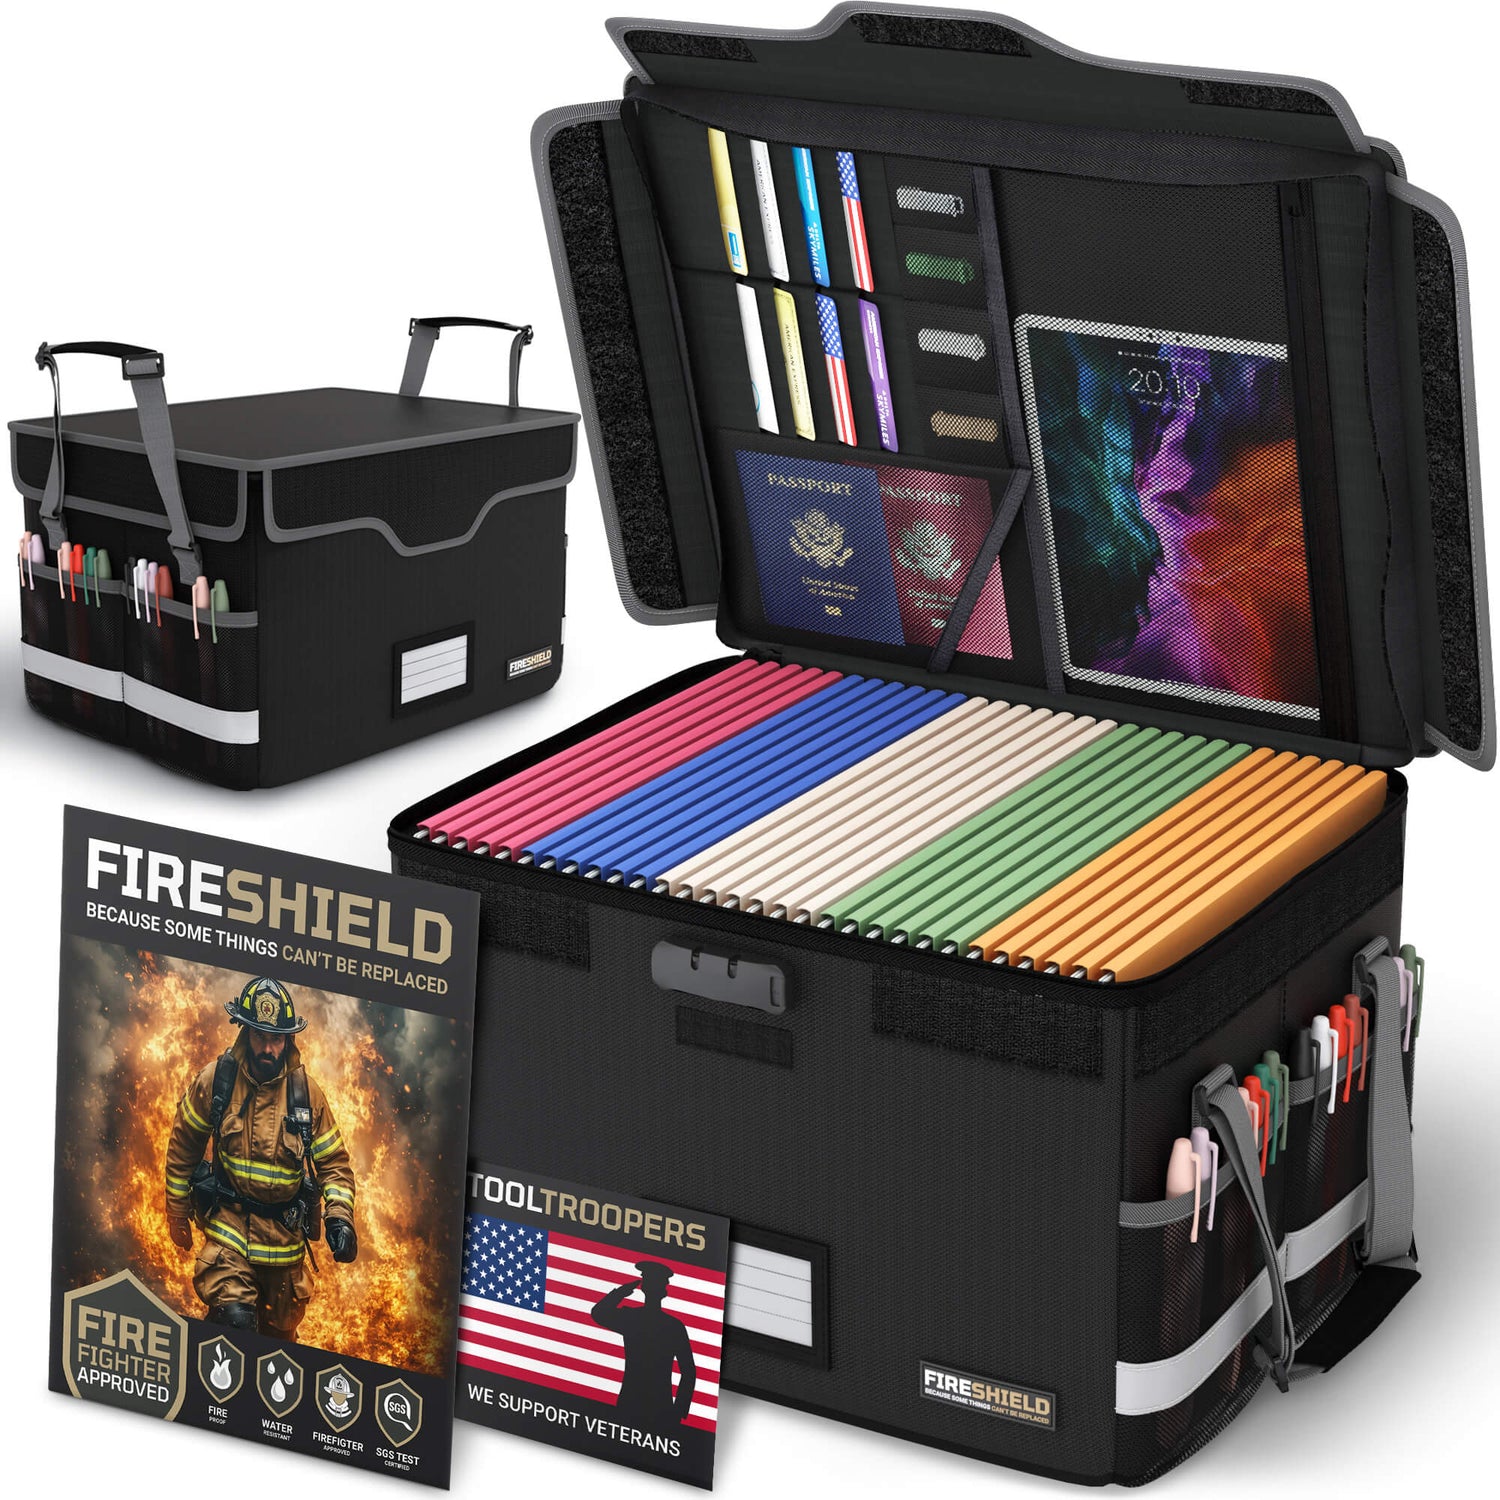
Instructions guide
FIRESHIELD PRO - File Box
Everything you need to know about your new FIRESHIELD PRO file box.

Instructions guide
FIRESHIELD PRO - Document Sleeve
Everything you need to know about your new FIRESHIELD PRO document sleeve.

Instructions guide
FIRESHIELD PRO - 3-Pack
Everything you need to know about your new FIRESHIELD PRO 3-pack.

Instructions guide
GAFFER TAPE
Everything you need to know about your new GAFFER TAPE.

Instructions guide
ALL HOOK & LOOP TAPE
Everything you need to know about your new HOOK & LOOP TAPE.

Instructions guide
ALL DOUBLE SIDED TAPE
Everything you need to know about your new DOUBLE SIDED TAPE.